
Have all the icons at your fingertips
For those unfamiliar with the custom shape toolbar in Adobe Photoshop, it allows you to insert a vectorized shape with just a click. And it’s not just fast, it’s also a convenient way to have an overview of your icons.
All our Picons.me iconsets already come with the necessary Custom Shape files (.csh). Personally, I couldn’t live without them.
How to import the Picons into Photoshop’s toolbar?
It’s super easy.
- In Adobe Photoshop open “Edit” > “Presets” > “Preset Manager…” from the top menu

- When the Preset manager pops up, choose “Custom Shapes” from the dropdown on the top
- Click on “Load” and browse for the .CSH file, which came with your Picons.me iconset, select it and then click “OK”.
- You can import multiple CSH files. We suggest you import all your Picons.me iconsets.
That’s it.
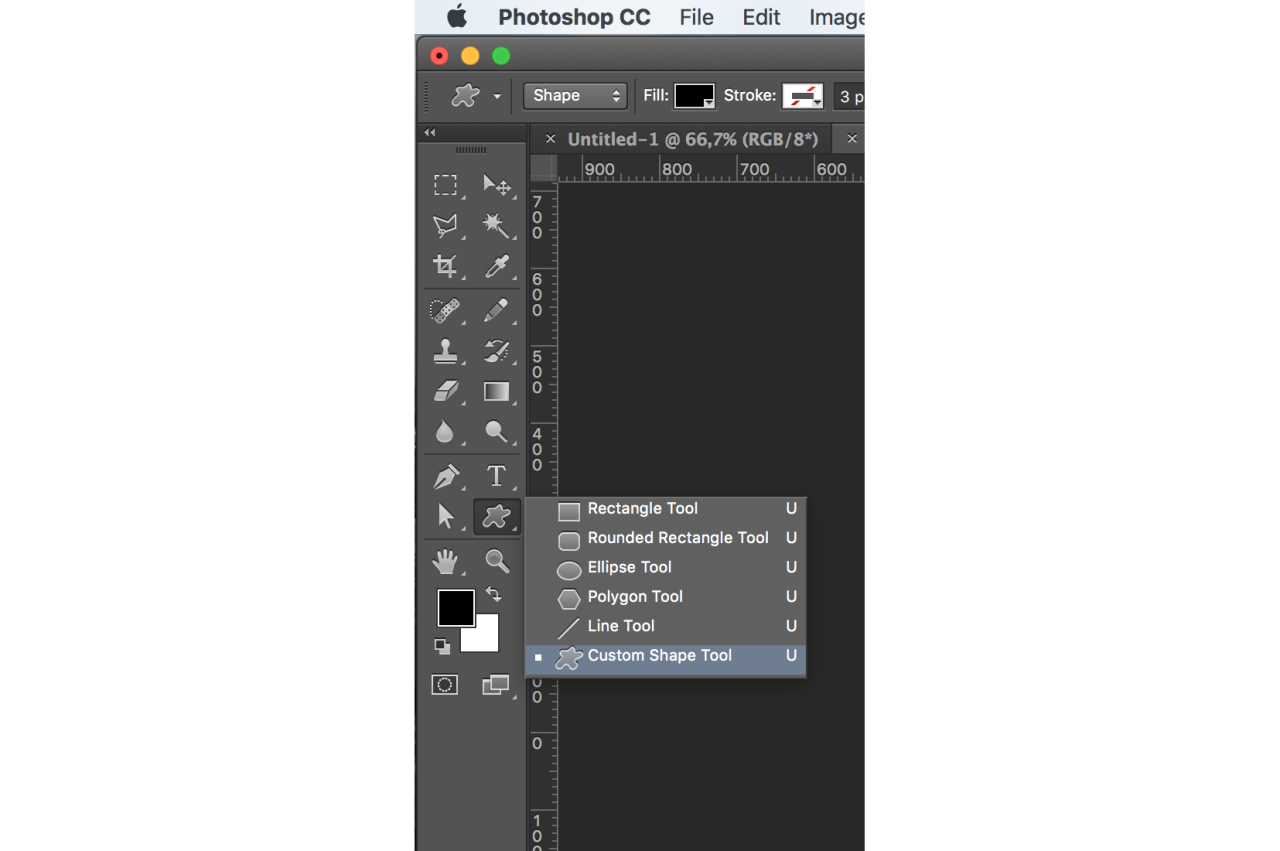
Now, to insert an icon, use the “Custom Shape tool” (see screenshot).
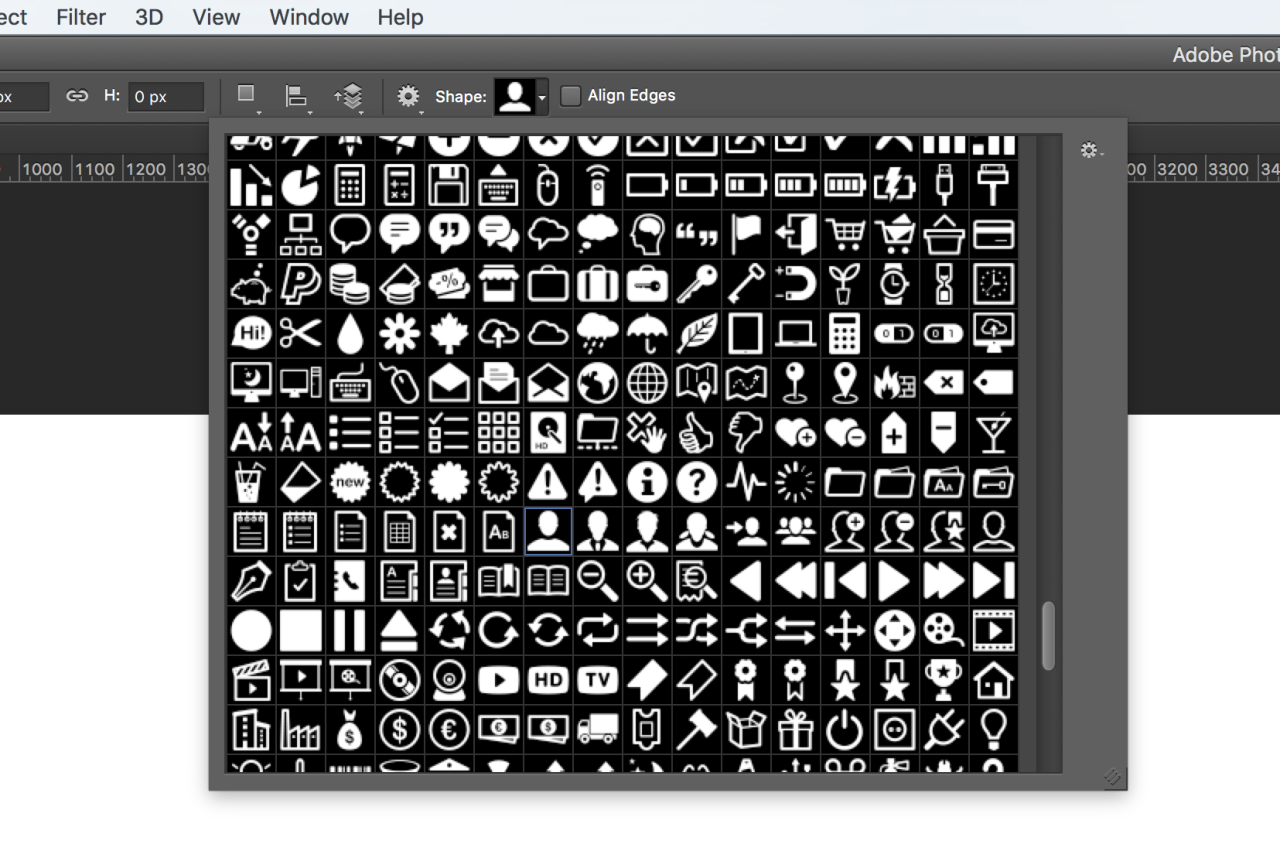
Choose your desired icon (dropdown at the top bar) and draw it as an ordinary shape.
You can color it, resize, transform, apply a stroke, … whatever you like. The icon will be a vector shape object, so you won’t see any quality loss when resizing.
Have a productive time!